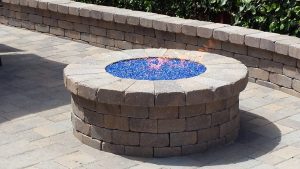
Different Types of Plants and Ground Cover

When choosing the right ground cover to use around pavers or flagstone, you want them to meet a few criteria:

  • Look for plants that are tough so you don’t have to tiptoe around them.
  • Choose short plants that won’t obstruct your path, and plants that are suited to the area’s light exposure (is the area sunny or shady).
  • Find plants that spread to fill the space around them make growing plants between pavers easier.

And living in California, drought is also a major concern. However, it’s very possible to grow a gorgeous, water-wise garden. You can find drought tolerant plants for nearly any situation, including heat-loving ground cover plants and ground covers that withstand drought.

The best drought tolerant ground covers share several common characteristics. For example, drought-tolerant plants often have small or narrow leaves with a smaller surface area and reduced moisture loss. Similarly, plants with leaves that are waxy, curled or deeply veined retain moisture. Many drought tolerant plants are covered with fine grey or white hairs, which help the plant reflect heat.

Here are a few great options:
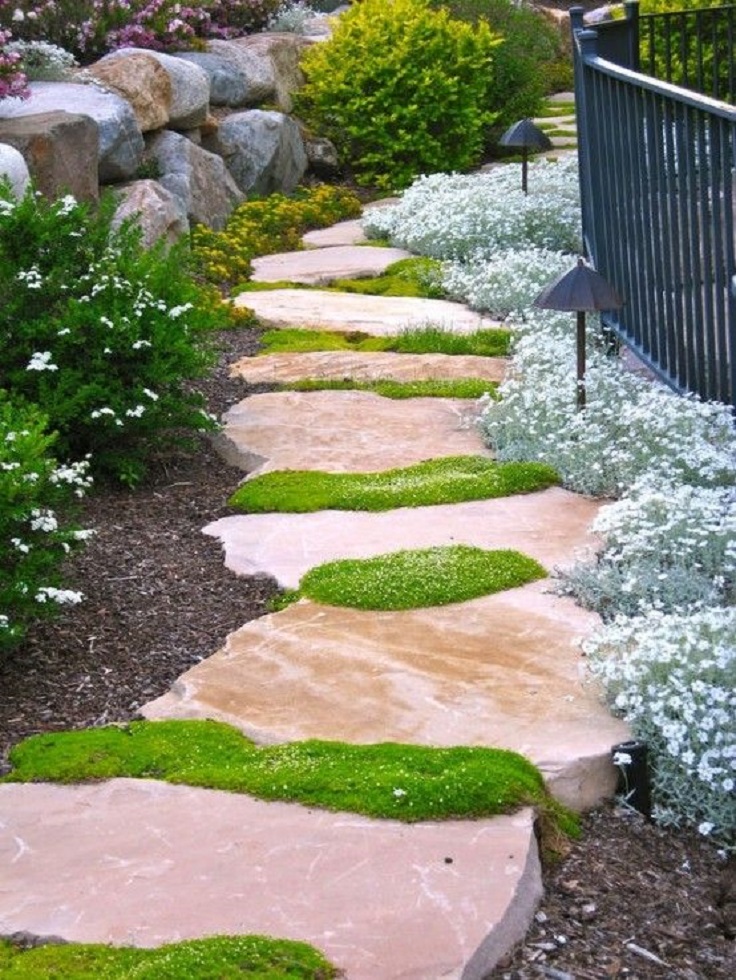
Irish Moss: Irish moss adds soft, spongy texture to paths in shady areas. Only a couple of inches tall, it doesn’t create an obstruction. It’s usually sold in flats like sod. Just cut it to fit and lay it where you want it to grow. It is sometimes sold as Scottish moss.
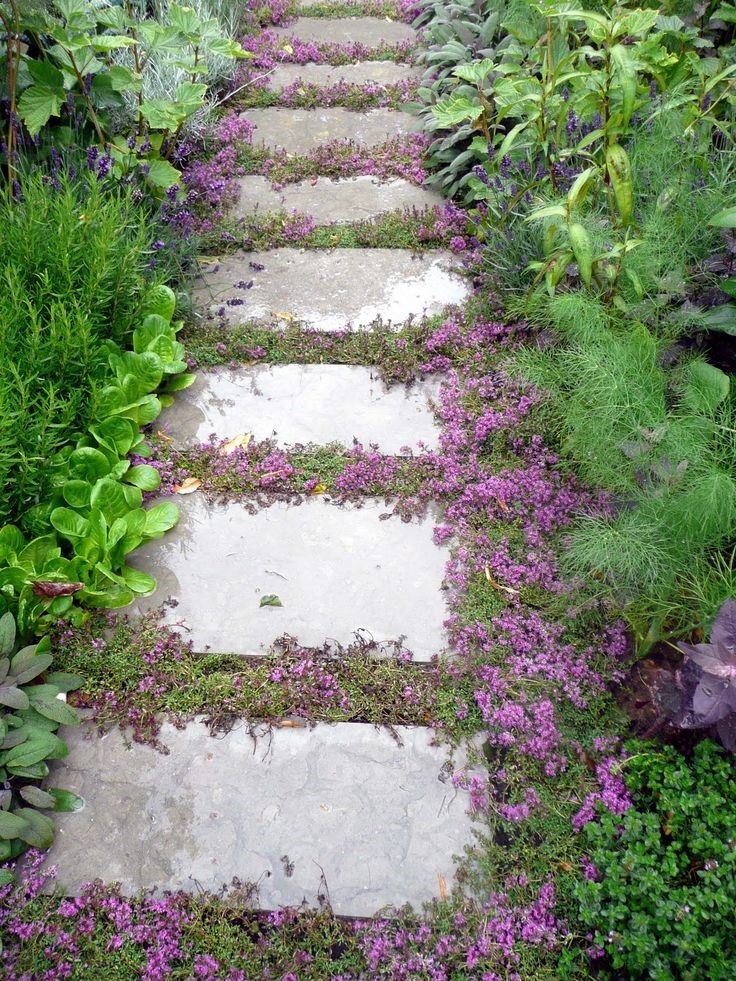
Creeping Thyme: .Creeping Thyme grows only an inch or two tall, and you’ll enjoy its pleasant fragrance. You can plant it in the sun, where it grows flat, or in the shade where it forms little hills. It bounces back after short periods of dry weather, but you’ll need to water it if the dry weather lasts very long.
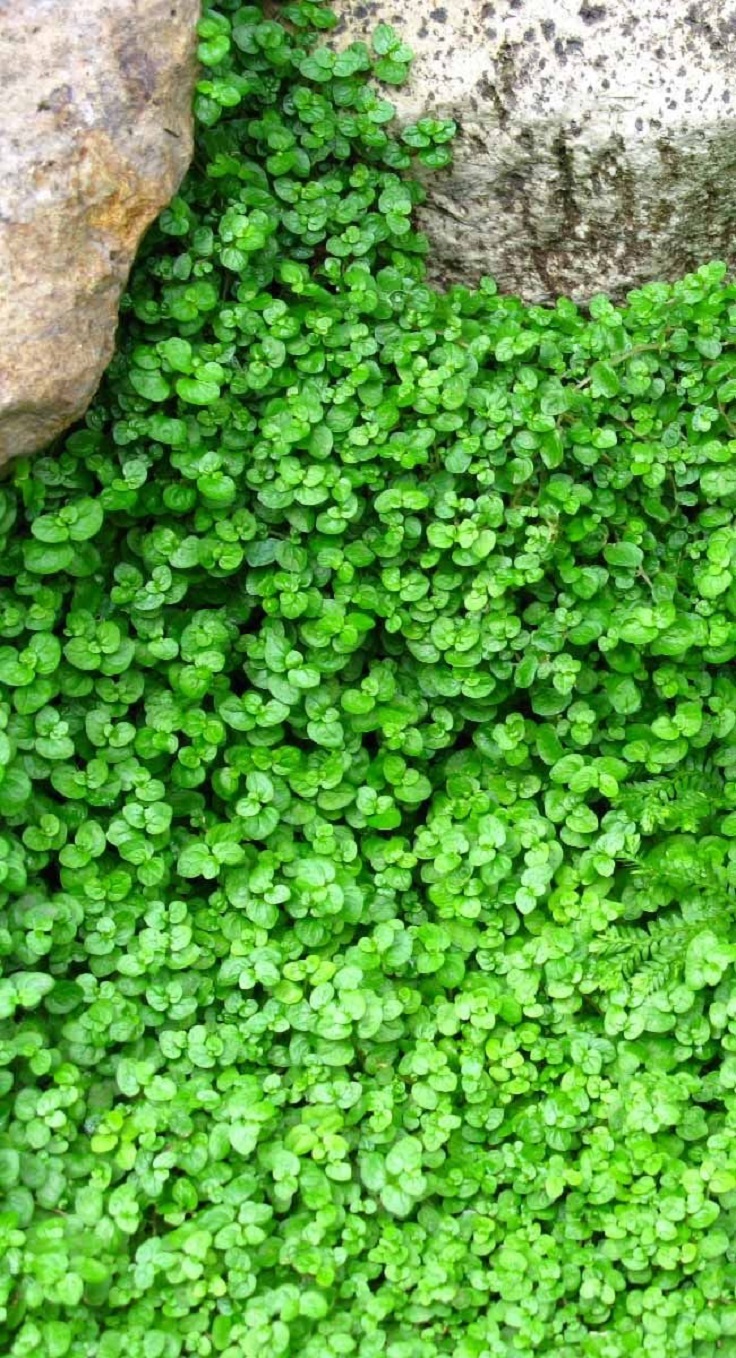
Baby’s Tears: Baby’s tears is another selection for shady locations. They are often sold as houseplants, but they also make wonderful little plants to grow within pavers. It isn’t for everyone because it only grows in USDA zones 9 and warmer. The pretty foliage forms mounds about 5 inches tall.
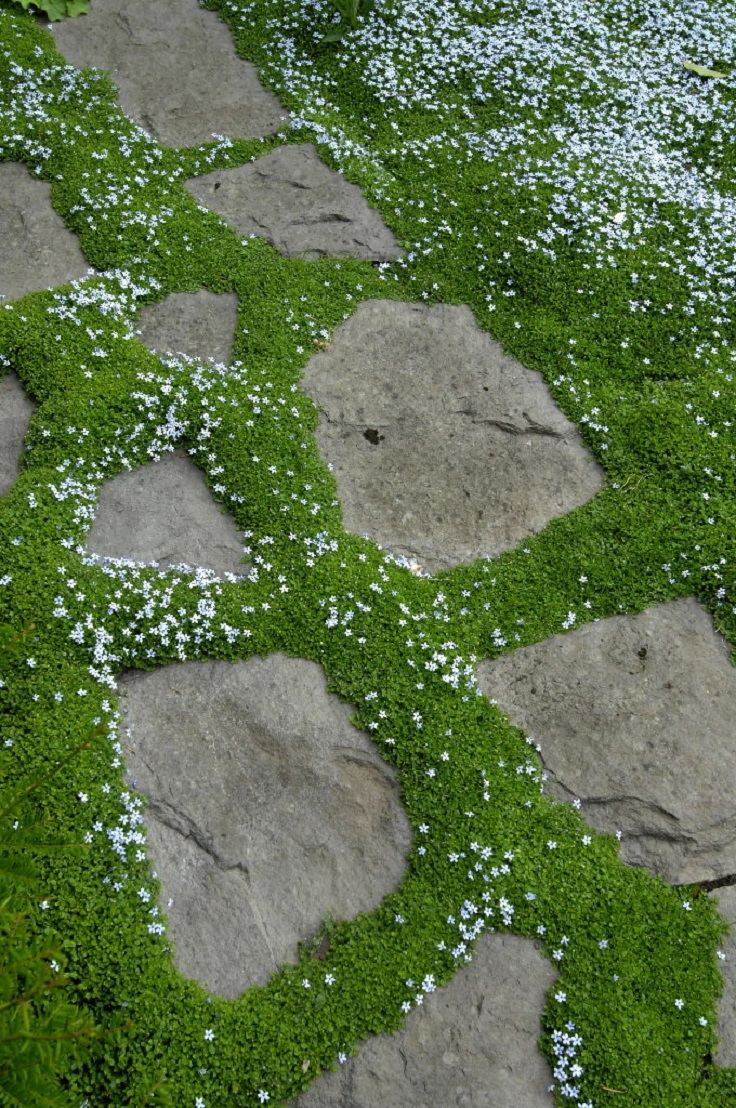
Blue Star Creeper: Creepers are perfect as a lawn substitute, excellent between stepping stones, under roses, around ponds, patios and decks. Isotoma fluviatilis is a show stopper in a topiary and is amazing over flower bulbs. Super easy to grow and can bloom spring through summer if conditions are right.
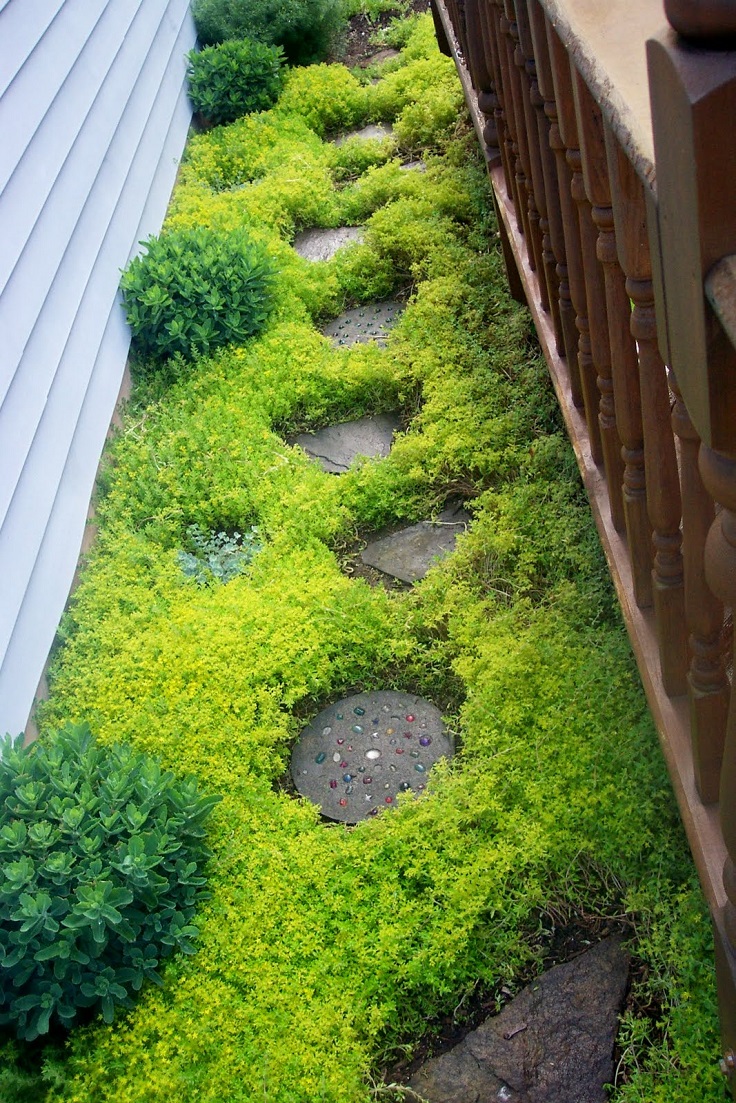
 

Creeping Sedum: Sedums do their best in lean soils and not much water – because in those conditions the weeds DON’T do well. In other words, in the world of groundcovers it’s all about the competition – can a plant out-compete the weeds or not? So first, making your site inhospitable to weeds before planting gives sedums greatly reduces the long-term maintenance from then on (less weeding).

DIY Projects: Left Over Cinder Block

I’ve been asked by more than one customer: “what can I do with all those left over cinder block we bought for our wall?” ( as well as brick, or flagstone, or pallets, but we’ll cover those in other posts).

Aside from returning them to one of our 4 locations or paying for a dumpster or someone to haul them to the local waste management site, why not use them in a fun and creative DIY project.

Other than the cinder block, you might need a few other items:  2×4’s, some mortar or block adhesive and paint, and we can take those construction leftovers and make something cool to spruce up the yard.

Here are a few ideas:

Back yard bench

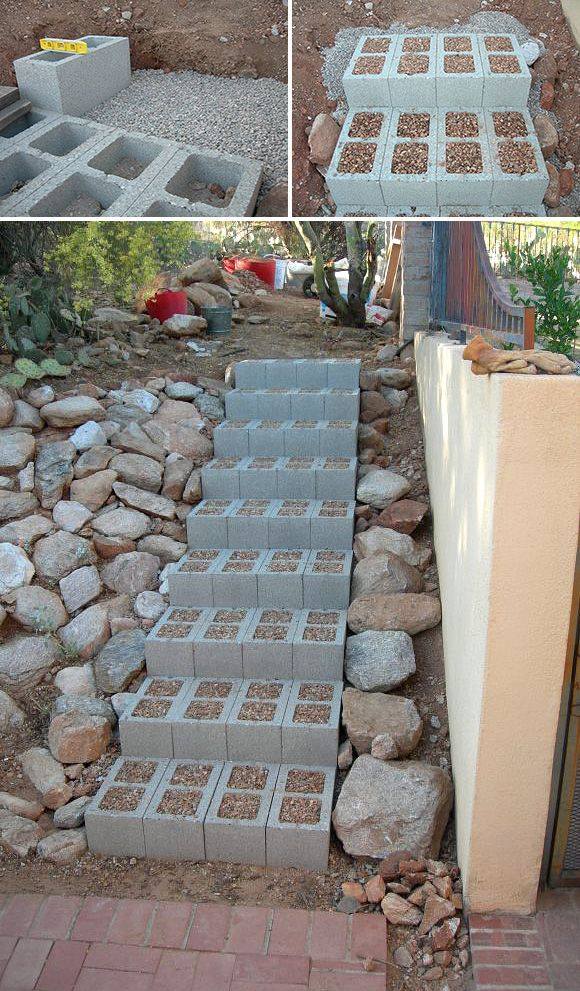
Steps in your garden

Book shelves

Back yard seating area


Candle or art display


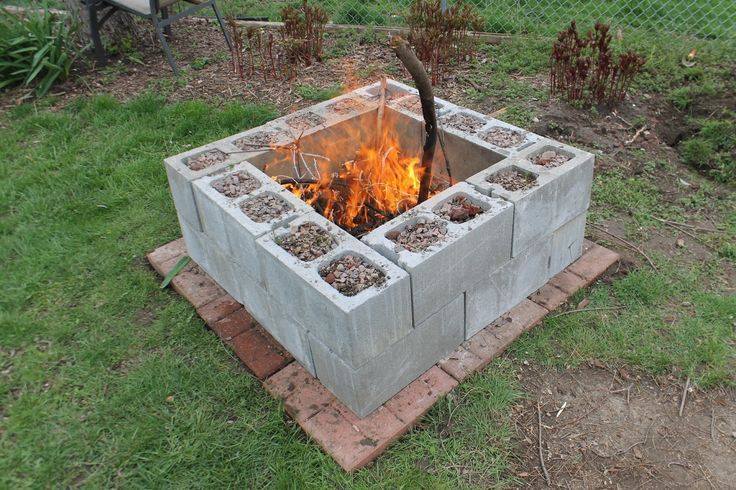
Fire pit

Hopefully you can get some ideas from these pictures, and please feel free to share your finished products with us here.


Backyard Trends: Fire Pits


Let’s talk about Trends for 2017.  Talking to contractor clients, landscape architect and designers, we are seeing that home owners are looking for Complete Outdoor Living Areas.  Although this isn’t a completely new fad, more people are looking to add value to their homes while at the same time extending living or entertaining spaces to the back yard.

These outdoor living areas can range from whole outdoor kitchens and entertainment centers, to a barbecue or poolside bar area.  And can run you upwards of $50,000 or more.

Do you have an area of the back yard that you’ve been contemplating turning into an Outdoor Living Space?

Want to build a comfortable seating area, that will serve as a great place to entertain?

Why not build a fire pit?

If you take on this project yourself, you could spend closer to $500 if you have the patience and are willing to use some elbow grease. Building a fire pit can be an easy project, whether you are a weekend DIYer or this is the one and only time you’ll ever work in the back yard, we are confident you can get it done!

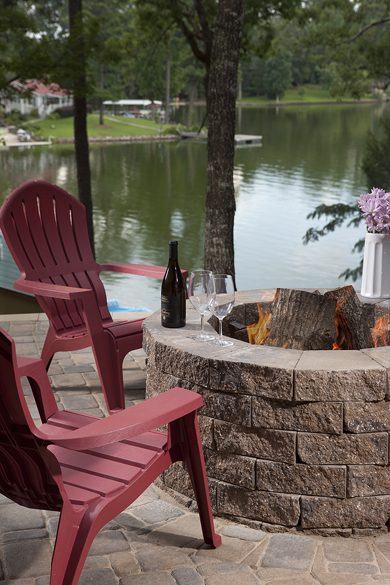
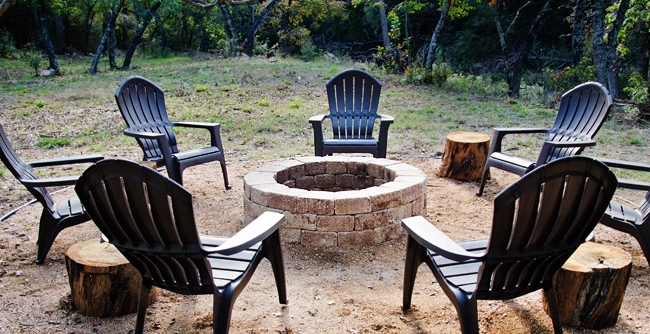
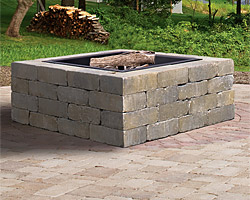
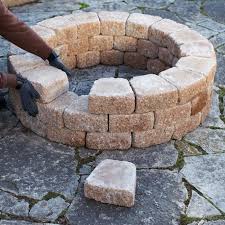
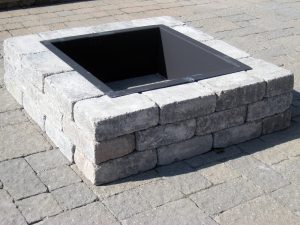
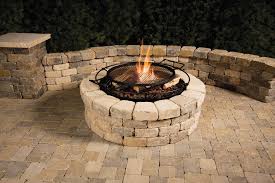
For our first blog post we will show you how to put a fire pit together.  I don’t have any photos of the process, but I will show you a few different prefabricated fire pit options from local suppliers, including Belgard, Olsen, Orco and Angelus Pavers.

HOW TO BUILD A FIREPIT

Materials used:

  • Pick your block.  There are a lot of options when it comes to fire pit blocks. Here are a few of the brands and styles we work with:

Angelus Planter Wall Blocks

Belgard Country Manor Fire Pit Kit

Belgard Weston Fire Pit Kit

Olsen Infinity Fire Pit Kit

Orco Keystone Country Manor

Orco Jumbo Nursery Stone

Instructions.
1.  Check on your city and local codes and restrictions to find out what is required for a fire pit.
2.  Chose an open spot, 10 to 20 feet away from trees, bushes, grass and other flammable items.
3.  If building in none paved area, use rake and or shovel to clear out grass and debris and smooth out fire pit area. If on paved area, just make sure the area is clean and hopefully leveled.
4. By now you have already picked the shape of your pit.  If you plan to create a circular pit, you might want to mark out the area first using a measuring tape and marking the ground with spray paint.  (Have someone stand in the center of the fire pit area with the end of a measuring tape and the 2nd person can walk around at the desired measurement and mark the ground in a circle.)
5. Lay out your first layer of retaining wall bock directly on the ground.
6.  Dig out about 4 to 6 inches of dirt from inside the fire pit circle.  (You may need to dig out more or less depending on your local code.)
7.  Stack the second and third layer of retaining wall block.  Fill the bottom of the fire pit with  4 to 6 inches of decomposed granite, sand or pea gravel. Use a brush to clean debris from the surface of the previous layer. Overlap the layers of stone, leaving three or four random gaps between stones in every course. The gaps allow the fire to draw air into itself. We dry-stacked the stone. They may get out of alignment, but realignment is easy.
8.  Add the 4th row of retaining wall block.  You may chose to glue the 4th row to the third row with landscape retaining wall adhesive.  If you do this, just follow the directions for the adhesive.
9.  If creating a seating area, add the rest of your gravel, back filling around the fire pit.  Smooth out, add chairs, outdoor string lights and enjoy!
 

Hello

Hi there,

My name is Junior Aguero, I am one of the owners at Patagonia Building Supplies.

This will be my blog.

In it, I hope to talk about some of the things I see as either relevant or trending in the building materials or landscaping supplies industries.

I’m not an expert, but I’ve been selling building supplies for the past 20 years.  I know a lot of contractors, developers and designers and often pick their brains about what’s happening in our industry.  I read a lot on the subject of remodeling, landscaping and construction.  So here I will attempt to share a bit of what I’ve learned with you.

And at the same time, I will showcase some of the materials we sell at our four LA and OC locations…because lets face it, I’m trying to sell you something too.

I’d like this blog to be a place where you can reply and spark some dialogue, so please send me feedback and comments.  They are always welcome.

I look forward to chatting with you.


Jr.