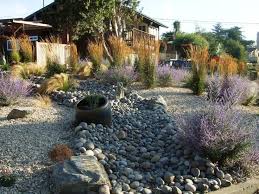
Landscape Trends: Xeriscape

Although it hasn’t stopped raining in what seems like months, for the past few years California has been experiencing severe drought.  So much so that it has changed the way we think about building our homes, buying our appliances, designing our back yards and arranging our landscaping.

This has led to a new trend in landscape design known as “Xeriscaping”.

What is xeriscape? The word is derived from the Greek “xero” meaning dry and “scape” meaning view or scene. Basically, xeriscaping is a landscaping philosophy that uses as many native, drought-resistant plants as possible and arranges them in efficient, water-saving ways.

Those who have never heard the name may already know its techniques, because its principles are commonly used in landscaping and often work well. Some people who are aware of the concept mistakenly refer to it as “zero-scape,” as in the use of no water. Others have a negative perception of xeriscaping, thinking that the practice involves the use of barren, rocky landscapes and a few cacti.

As it turns out, xeriscaping doesn’t have to mean a bunch of tumbleweed from the southwest, because it’s open to the use of native plants, a landscaper can select a myriad of plant varieties from his region. A xeriscaped lawn can look as attractive and colorful as a regular one. If used effectively, xeriscaping can reduce water use for landscapes by 60 percent or more.

Let’s talk about a few practices that can help you create an effective and beautiful xeriscape:

1.  Create practical turf areas:

Xeriscaping does not necisarily mean eliminating all sod or grass and replaceing it with gravel. You just need to take into account where grass will be useful and enhance the landscape, not take away (both physically and visually) from the other plant life.

There are also many different types of grasses, some of which are seasonal, some of which are native to a certain region and work better with low water usage. You can check with your local gardening center to see which kind of grass is best suited for your landscape.

2.  Select the right plants:
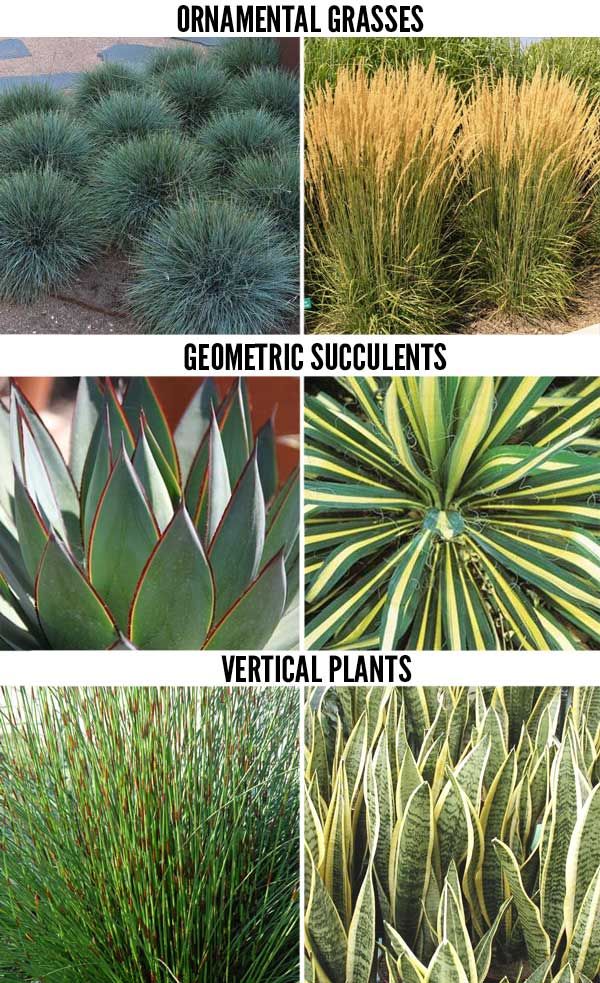
Choosing the right plants is probably the most important part of xeriscaping. These plants will be the main attraction and define your landscape. But the location and grouping of plants can greatly affect the amount of water you will use in the long run.

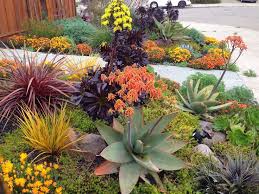
Native plants are usually the best choice for a xeriscaping project.  The use of ornamental grasses, succulents and cacti or aloes, as well as vertica plants which are native to California are best.

Although it’s possible to use plants from other regions, there’s a chance that outside vegetation won’t adapt quickly to a new locale, and you’ll be stuck with an empty lawn. It’s also important, of course, that the plants are drought-tolerant and don’t require much water.
3.  Watering and the right irrigation:
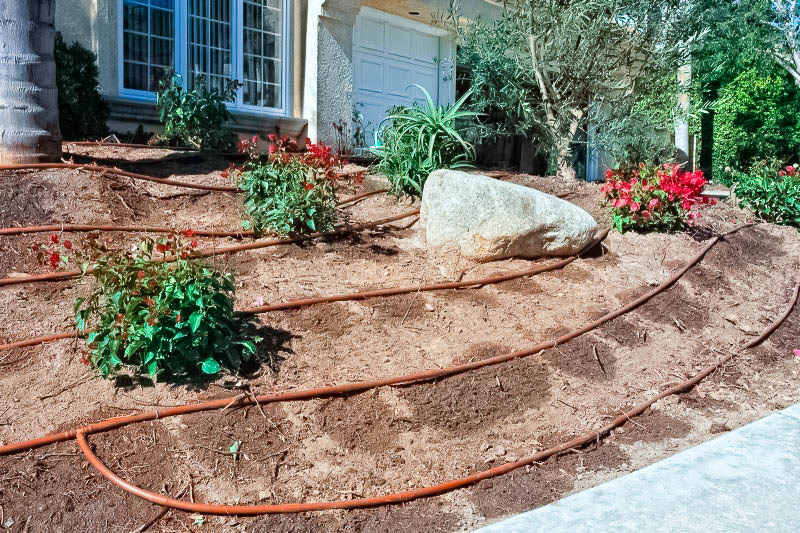
It’s important to know how much water is needed for plants. Some plants can rely on the limited rainwater a region might receive during a drought, but many still need water maintenance, even if it’s just a little.

You can provide plants with efficient irrigation with either a hose-end sprinkler or drip irrigation system. We work with both Rainbird and NDS for our drip irrigation products.

It’s important to keep water as low to the ground as possible to avoid spreading it toward unnecessary locations and causing evaporation.

4.  Use of mulches:
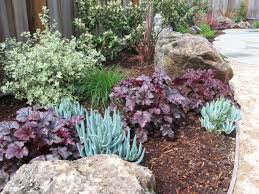
Important for keeping roots cool and minimizing water evaporation, mulch is available in two types: organic and inorganic.

Organic mulch is wood-based, including bark mulch, wood chips and natural wood shavings. Although this type needs to be replaced regularly to keep away rot, wood-based mulch keeps landscapes cool and adds good, complementary color.

Inorganic mulch, on the other hand, is stone-based, such as decomposed granite, gravels, or lava rock. Stones don’t need to be replaced, but they work best in the shade, since otherwise they’ll soak up any heat from the sun and evaporate much-needed moisture.
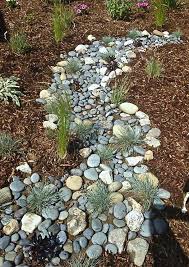
 

I hope this will inspire you to prepare for the next big drought. Even though we’ve had record rainfalls…undoubtedly, we will see other dry seasons come.

 

Backyard Trends: Gabions


Since selling stone is our primary business, I am always looking for great ways to display them, whether its flagstone, gravel or boulders and cobbles.  One of the most beautiful ways of displaying boulders and cobbles are Gabions.

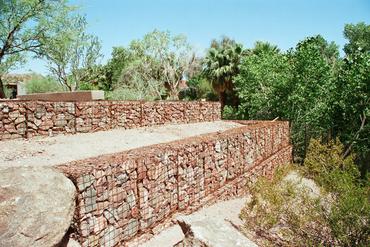
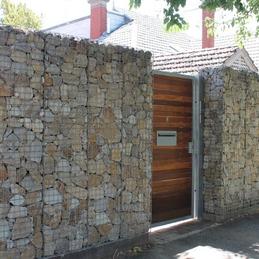
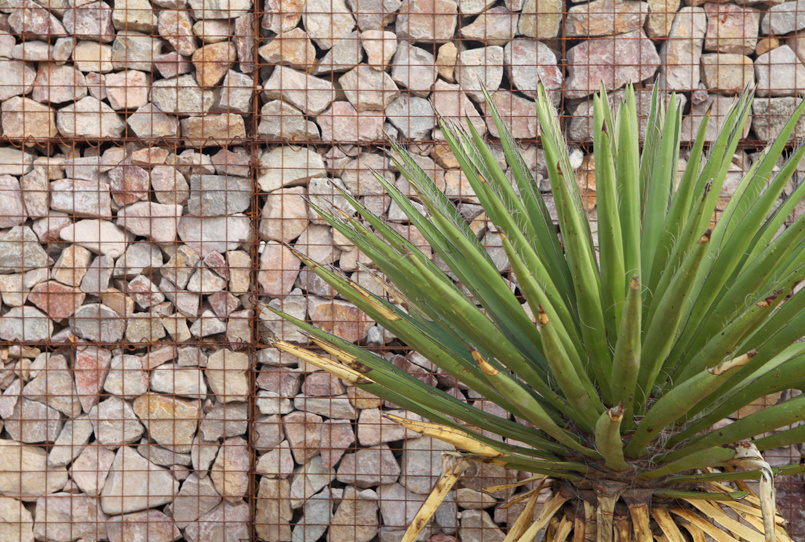
For those who don’t know, gabions are a traditional retaining wall system comprised of steel mesh ‘baskets’ filled with rocks.    In landscaping, gabion walls can support an earth wall, stabilize the soil, prevent erosion, and more.

Gabions are nothing new.  They have been used in engineering through out history, from ancient Egypt to medieval Italy. Derived from an old Italian word, gabbione, meaning “big cage.” The cages were originally wicker, but now are usually a welded mesh made of sturdy galvanized, coated, or stainless steel wire that won’t bend when filled with rocks.

What are the benefits of gabion walls?

History has shown that gabions are a lasting solution to soil erosion as well as hillside retention. Other reasons to use them:

  • Aesthetics: Gabions look natural and can tie a house to the landscape by using filler materials excavated from the site or the local terrain.
  • Environmental friendliness: When onsite material is used as filler, transportation costs and associated fuel consumption are eliminated.
  • Sustainability: Used as shade screens in hot climates, gabion walls provide passive cooling; they allow air to move through, providing ventilation.
  • Permeability: Gabions are permeable and free-draining; they can’t be washed away by moving water.
  • Easy installation and built-in strength: The stone fill settles to the contours of the ground beneath it and has such frictional strength that no foundation is required. In fact, the wall’s strength and effectiveness may increase with time, as silt and vegetation fill the voids and reinforce the structure. Another advantage over more rigid structures: Gabions can conform to ground movement.
  • Long-lasting.

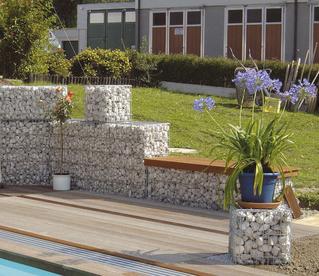
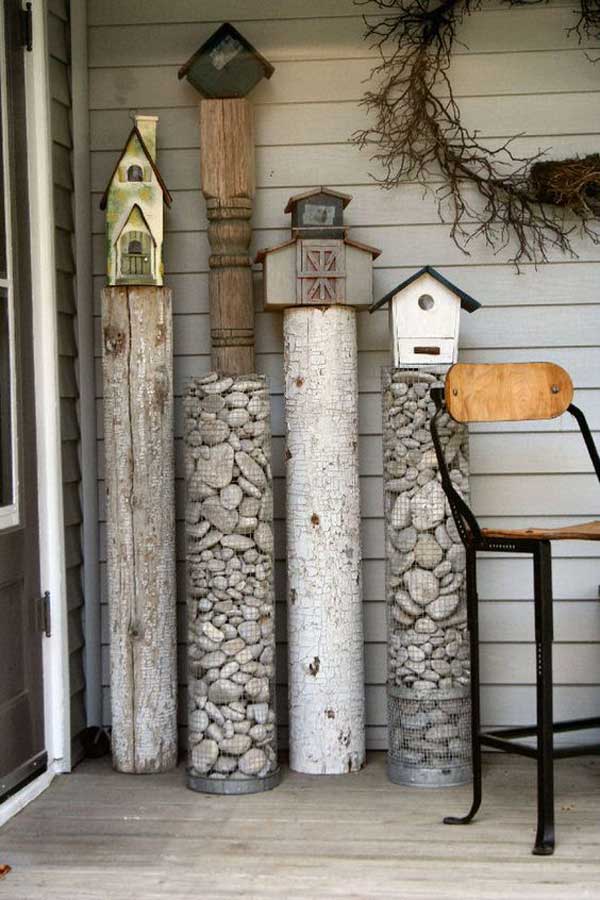
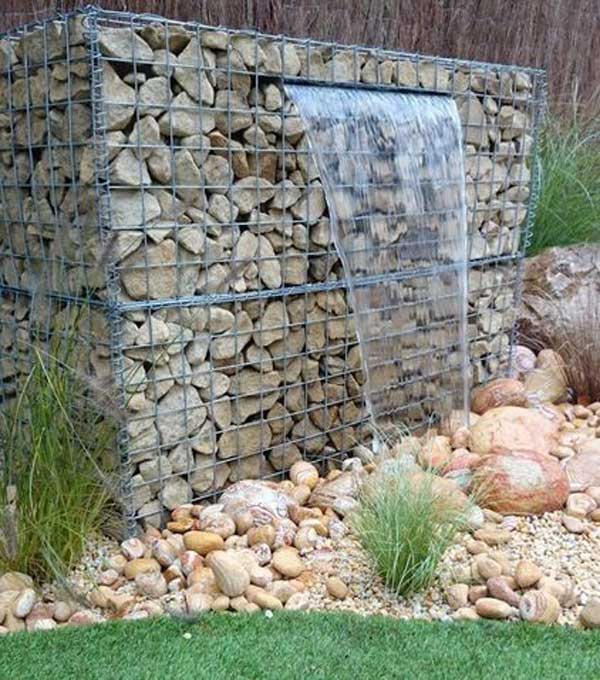
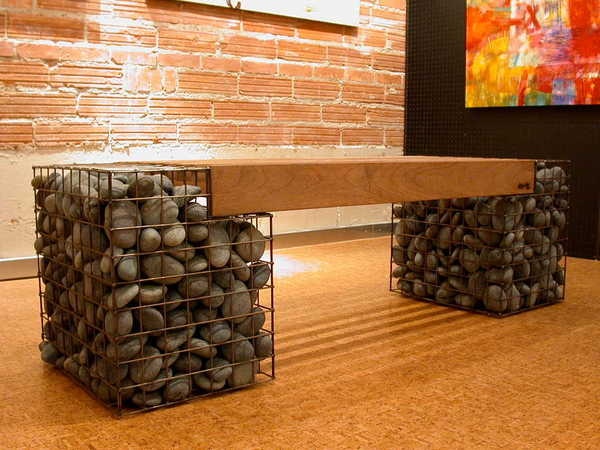
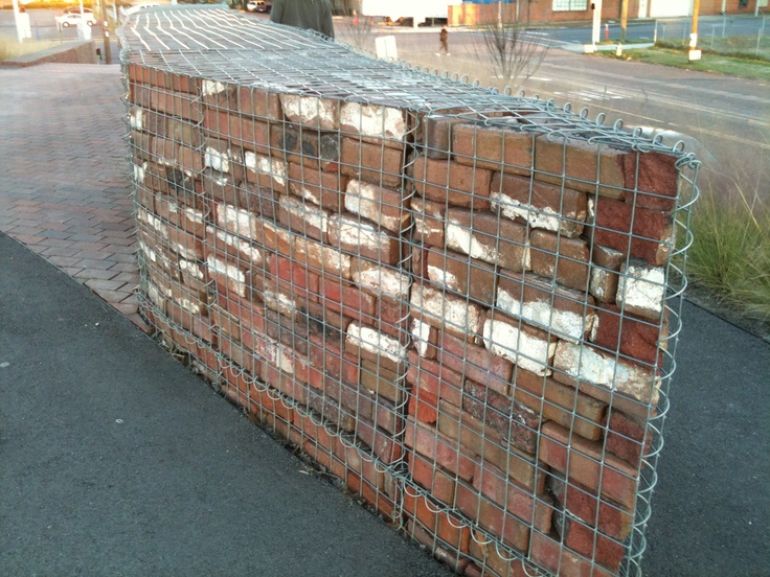
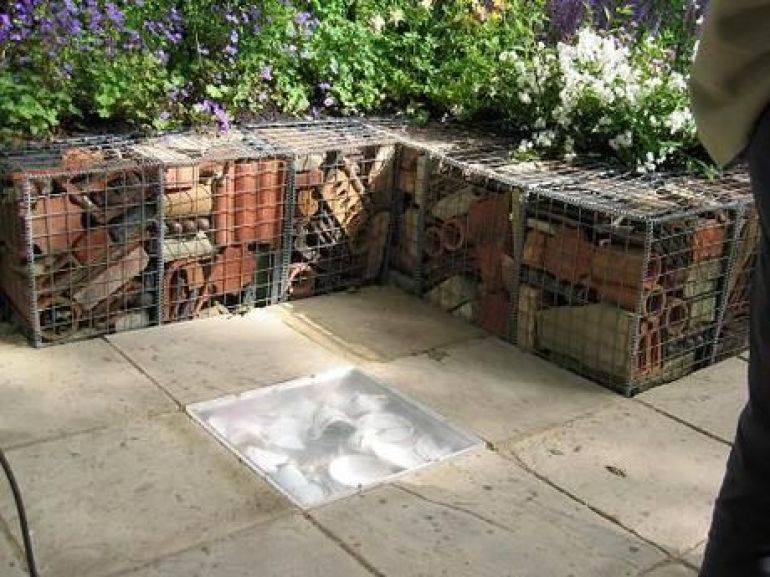
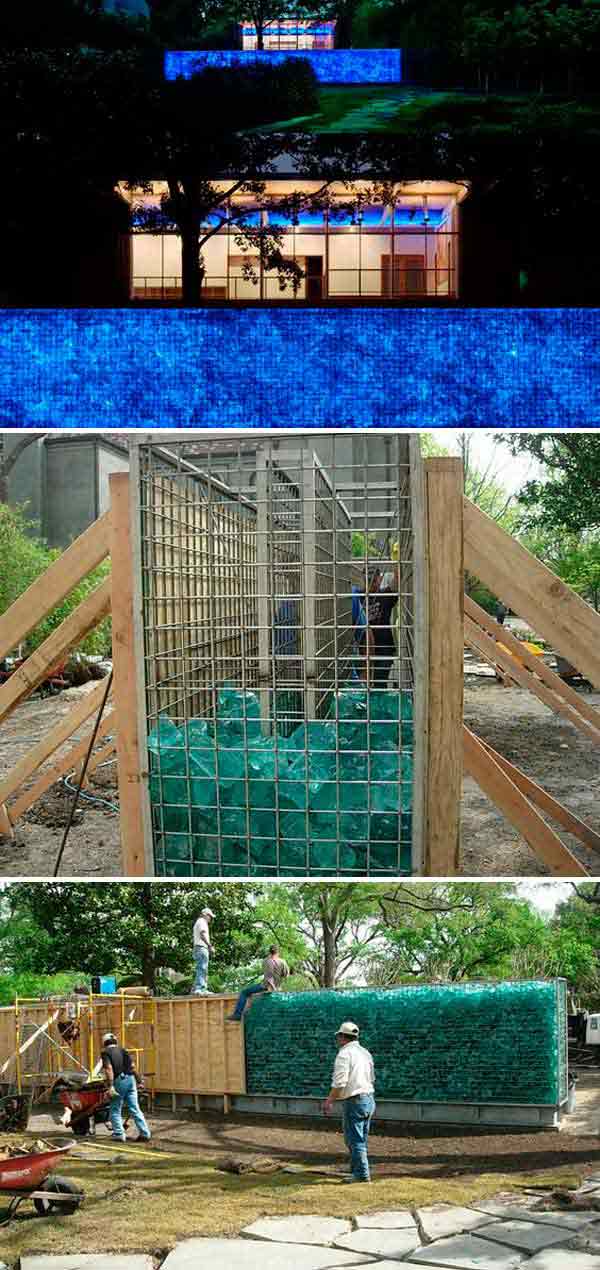
Gabions can serve many purposes other than building walls.  They are used for small fences, benches, posts, planter boxes, even barbeque pits or grills and more.  Here are a few cool ones I’ve seen:

Stone is not the only material used to fill gabions.  You can use reclaimed brick or roof tiles, broken concrete, broken glass, wood or branches or anything else you can imagine…but the heavier the material the better it will serve for retaining walls.


Backyard Trends: Fire Pits


Let’s talk about Trends for 2017.  Talking to contractor clients, landscape architect and designers, we are seeing that home owners are looking for Complete Outdoor Living Areas.  Although this isn’t a completely new fad, more people are looking to add value to their homes while at the same time extending living or entertaining spaces to the back yard.

These outdoor living areas can range from whole outdoor kitchens and entertainment centers, to a barbecue or poolside bar area.  And can run you upwards of $50,000 or more.

Do you have an area of the back yard that you’ve been contemplating turning into an Outdoor Living Space?

Want to build a comfortable seating area, that will serve as a great place to entertain?

Why not build a fire pit?

If you take on this project yourself, you could spend closer to $500 if you have the patience and are willing to use some elbow grease. Building a fire pit can be an easy project, whether you are a weekend DIYer or this is the one and only time you’ll ever work in the back yard, we are confident you can get it done!

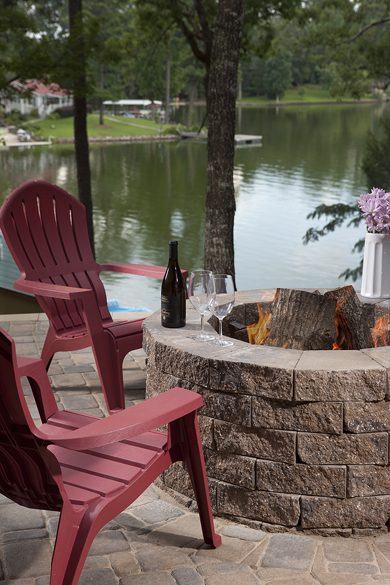
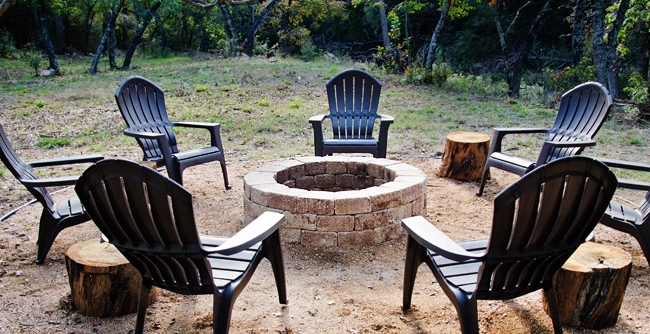
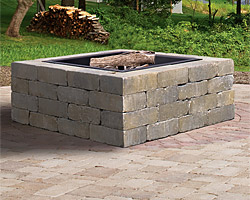
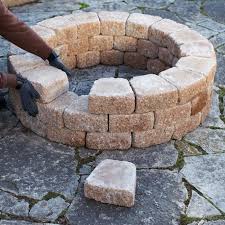
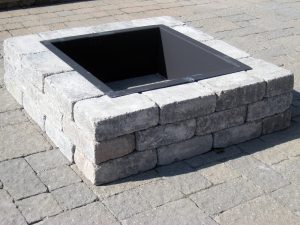
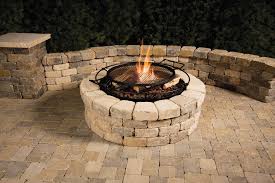
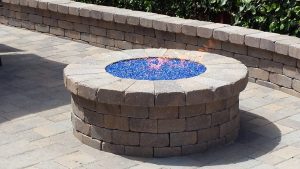
For our first blog post we will show you how to put a fire pit together.  I don’t have any photos of the process, but I will show you a few different prefabricated fire pit options from local suppliers, including Belgard, Olsen, Orco and Angelus Pavers.

HOW TO BUILD A FIREPIT

Materials used:

  • Pick your block.  There are a lot of options when it comes to fire pit blocks. Here are a few of the brands and styles we work with:

Angelus Planter Wall Blocks

Belgard Country Manor Fire Pit Kit

Belgard Weston Fire Pit Kit

Olsen Infinity Fire Pit Kit

Orco Keystone Country Manor

Orco Jumbo Nursery Stone

Instructions.
1.  Check on your city and local codes and restrictions to find out what is required for a fire pit.
2.  Chose an open spot, 10 to 20 feet away from trees, bushes, grass and other flammable items.
3.  If building in none paved area, use rake and or shovel to clear out grass and debris and smooth out fire pit area. If on paved area, just make sure the area is clean and hopefully leveled.
4. By now you have already picked the shape of your pit.  If you plan to create a circular pit, you might want to mark out the area first using a measuring tape and marking the ground with spray paint.  (Have someone stand in the center of the fire pit area with the end of a measuring tape and the 2nd person can walk around at the desired measurement and mark the ground in a circle.)
5. Lay out your first layer of retaining wall bock directly on the ground.
6.  Dig out about 4 to 6 inches of dirt from inside the fire pit circle.  (You may need to dig out more or less depending on your local code.)
7.  Stack the second and third layer of retaining wall block.  Fill the bottom of the fire pit with  4 to 6 inches of decomposed granite, sand or pea gravel. Use a brush to clean debris from the surface of the previous layer. Overlap the layers of stone, leaving three or four random gaps between stones in every course. The gaps allow the fire to draw air into itself. We dry-stacked the stone. They may get out of alignment, but realignment is easy.
8.  Add the 4th row of retaining wall block.  You may chose to glue the 4th row to the third row with landscape retaining wall adhesive.  If you do this, just follow the directions for the adhesive.
9.  If creating a seating area, add the rest of your gravel, back filling around the fire pit.  Smooth out, add chairs, outdoor string lights and enjoy!